Here's what things looked like on the second day:
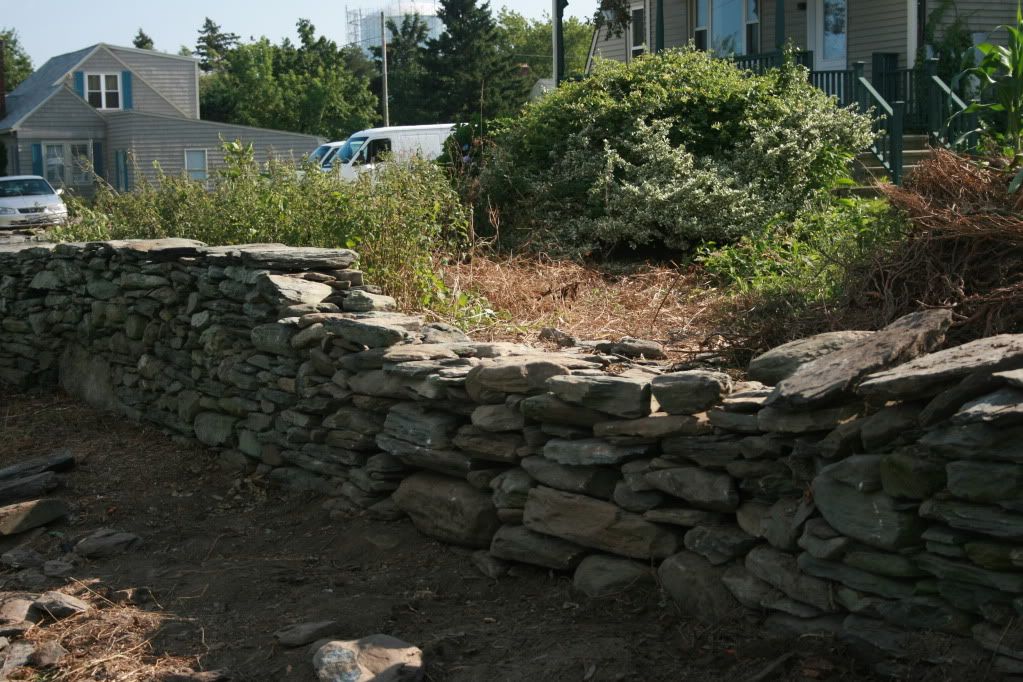
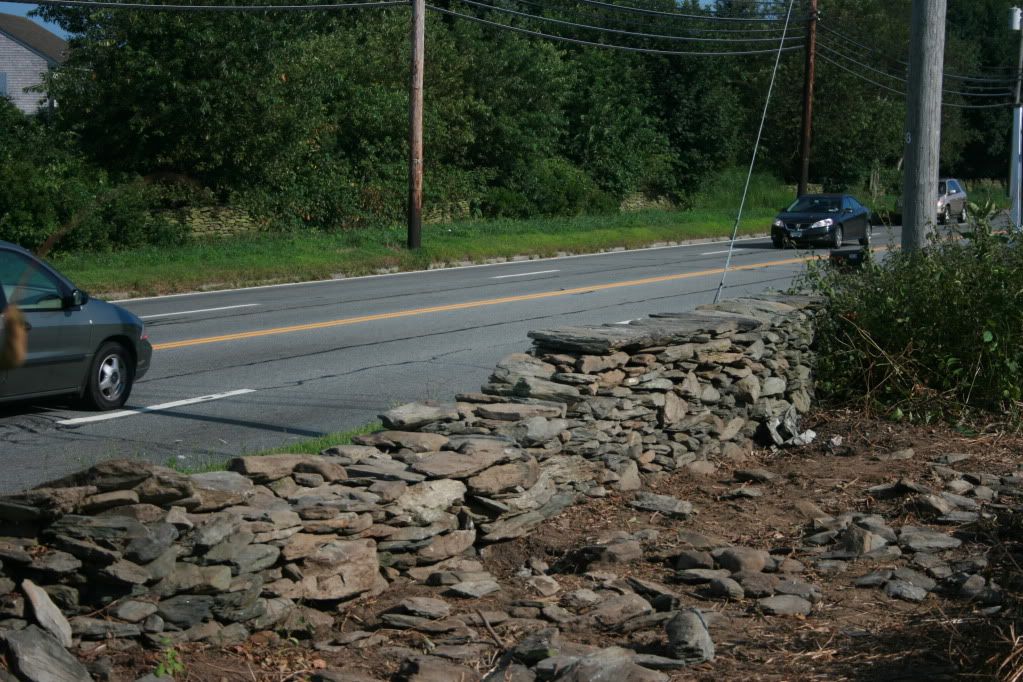
I spent a part of the day fixing the capstones that weren't level on the existing wall. I hope you agree that it looks much nicer now. I think it does. I was feeling pretty good about how the repair work was proceeding. I estimated that I would finish this section the next day. Here's what it looked like from the west (corn field) side of the wall:
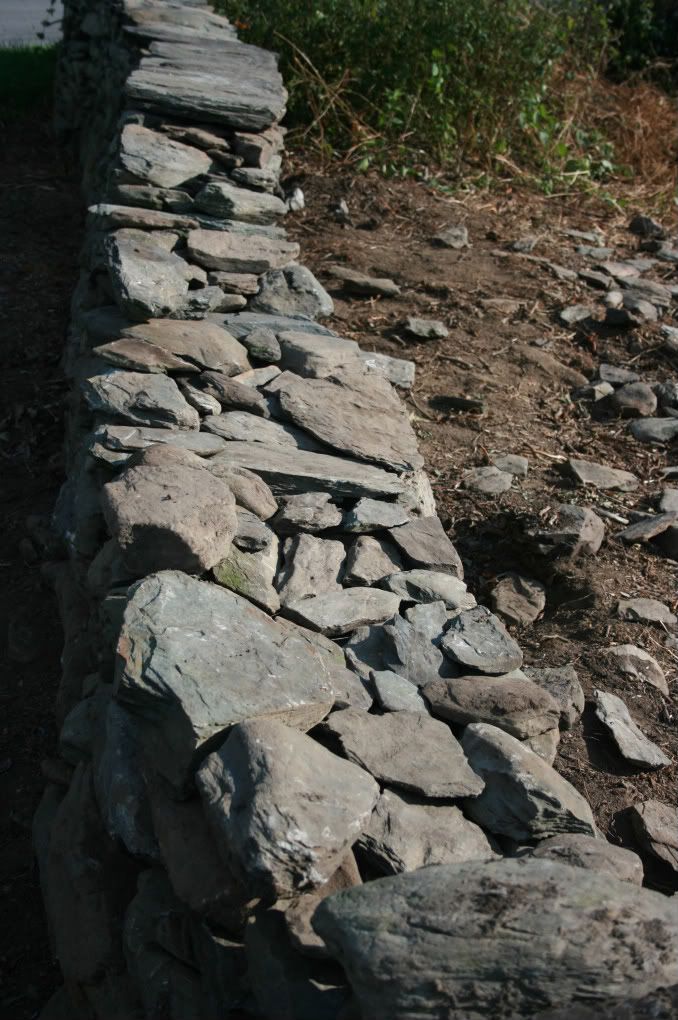
Most dry stone walls just have a bunch of rubble thrown in between the two parallel walls. I like to fit the stones as tightly as possible. Here's a closer look; you can see how I have Tetrised the inside of the wall. I figure it will last longer that way:
Just as I thought, I was able to get the section of wall finished the next day.
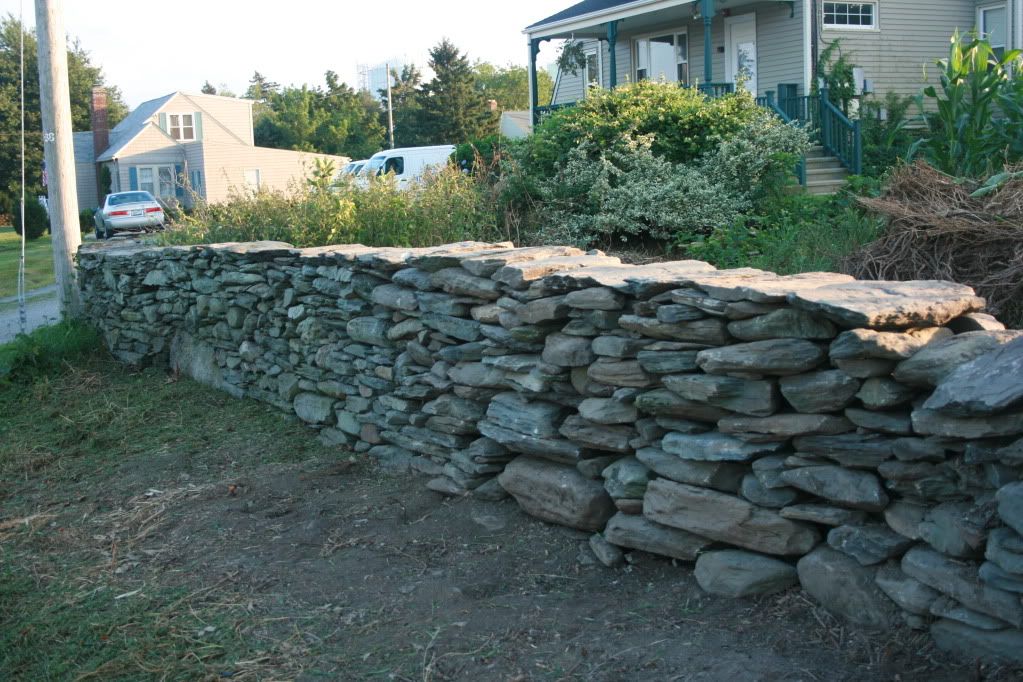
As much as I wanted to get going on building the new wall, I derive an intense amount of satisfaction from repairing something that looked so beat up and broken down. If you look closely at the stones, you can see which ones have been on the wall for a long time (the sound sections of wall at both ends of the photo) and the new ones I put in (they don't have any moss or lichen on them and are somewhat dirtier). One thing I really like is that even though I know which parts are which, I still have to look fairly closely to distinguish the sections.
While I was doing the repair, I spent a lot of time pulling roots out of the soil on both sides of the wall. Look to the right in the photo above and you'll see the pile of roots I took out of the ground. Most of that is bittersweet. I can see why the Corps of Engineers used it for erosion control.
While the repair was going on, I had staked out the spot where the trench was to be dug. When I drove East from Lake Forest Park, I brought all the wall building tools I would need; a rock hammer (actually a brick hammer, but I use it mostly for rock), an 800' roll of mason's twine, and a line level (an aluminum cylinder with a level glass inside it and two hooks on top so you can hang it from a line). That all fit in one very small box. I found some stakes in the workshop at the farm and pounded them in where I wanted them to go.
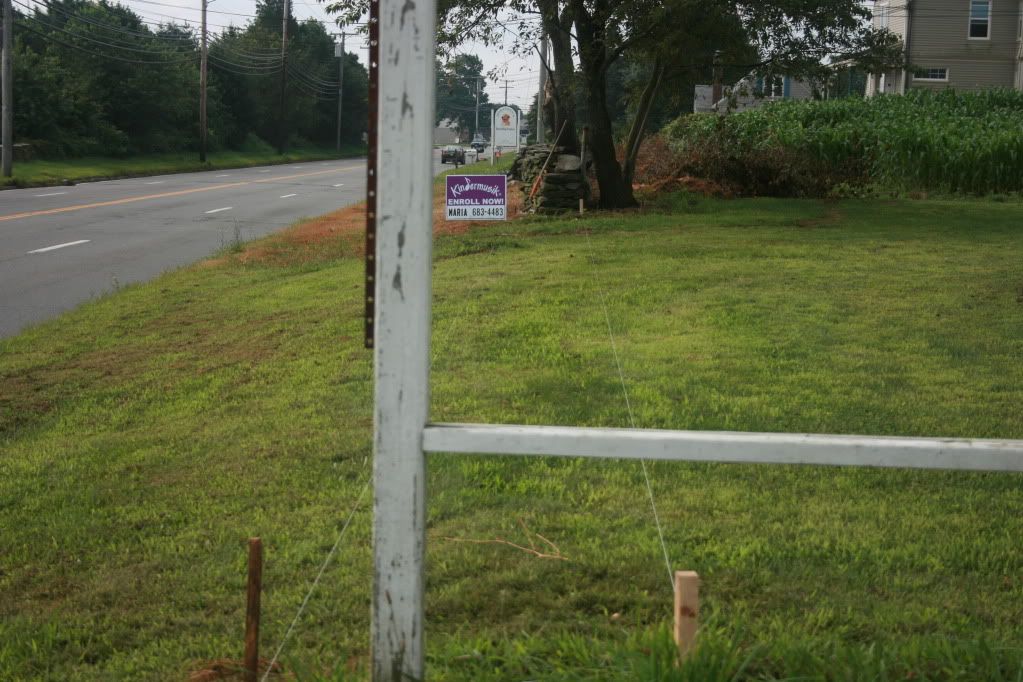
Because the wall was going to be about 24" wide, the lines are about 36" apart; you should have about 6 inches of gravel on either side of the wall for a firm footing. I'm going to write about the building process in another post.
2 comments:
Wow! You have been super busy in posting. Way to go Dad! I can't wait to see pictures of your new work. Also, did your suitcase come yet?
Yes, it arrived on Wednesday, October 14 at 11:47 p.m. almost 2 days after I arrived in Rhode Island.
Post a Comment